ANDROID MAIL SETUP

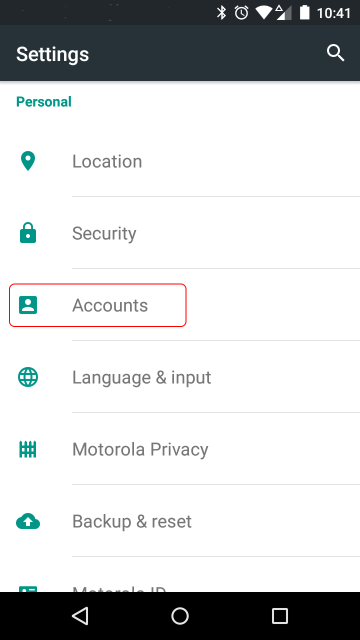
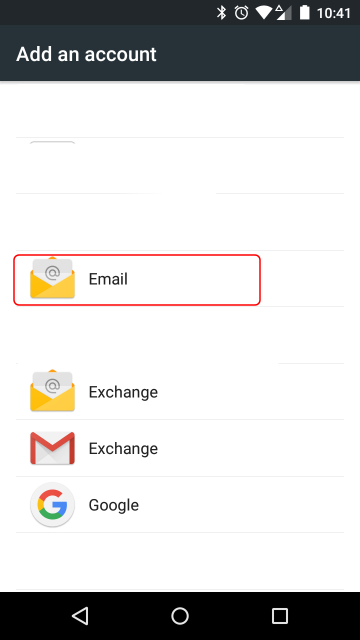
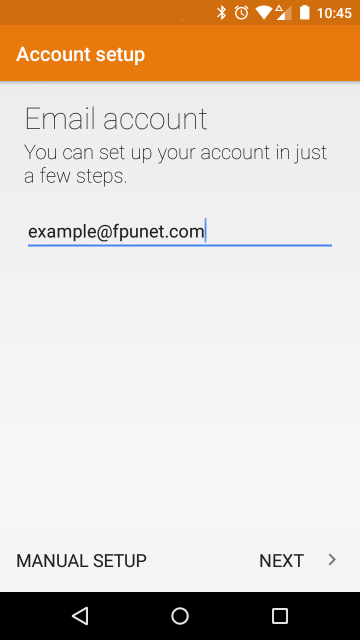
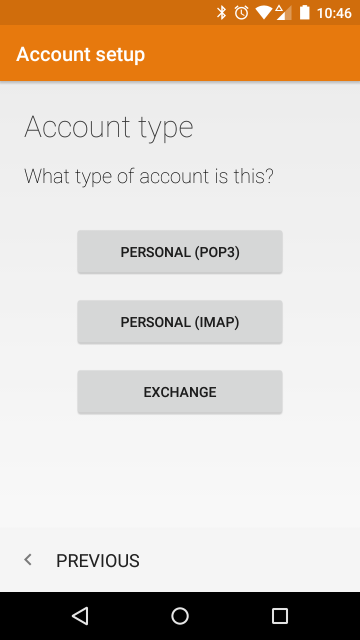
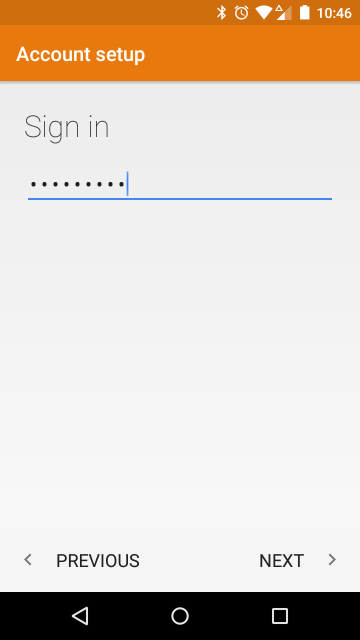
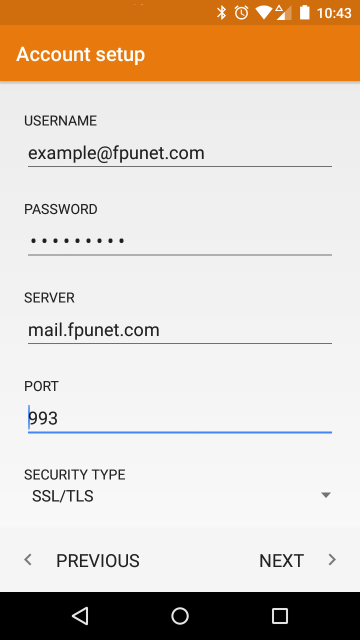
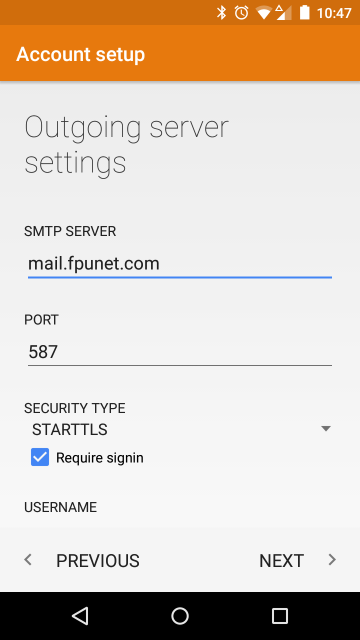
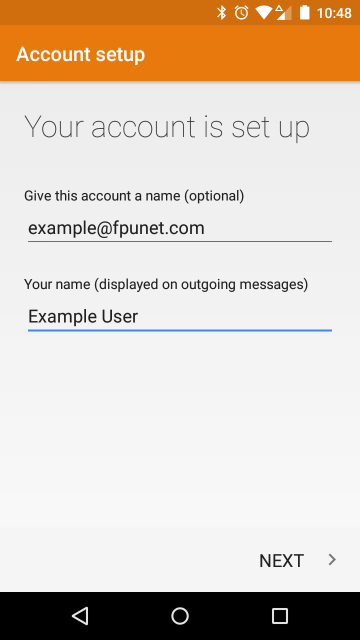
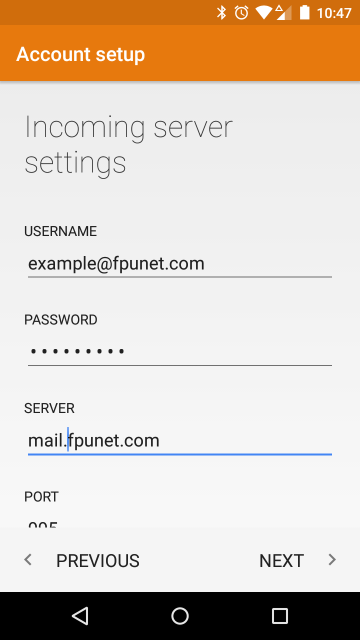
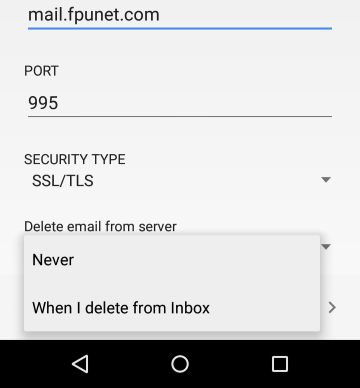
Android setup is going to vary some depending on the make, model, and brand of your phone/tablet. This particular account is on the 5.x version of Android and the normal, generic mail client. Yours might look somewhat different but it should be similar.
Android master
First, go into the master list of apps
Android settings
and select the 'Settings' app. 
Android001
Scroll down and select 'Accounts'.
Android002
Select '+   Add account'
Android003
Now select the account type you're setting up. It should be 'Email'.
Android004
The Account setup window will open up, and first enter your email address, then tap 'NEXT >'
Android005
Now you will select an account type. It will either be 'PERSONAL (POP3)' or 'PERSONAL (IMAP)'. When setting up multiple computers and devices to access email, most commonly people use IMAP. We'll go through the setup for that first.

Tap on 'PERSONAL (IMAP)'.
Android006
Enter your password in the 'Sign In' blank, and tap 'NEXT >'
Android007
On the following screen, enter or verify the following information for the incoming mail:

Username: Your full email
Server: mail.fpunet.com
Security type: SSL/TLS
Port: 993

On this device, the only changes we had to make were adding the mail to the front of the server name, and changing the security type from STARTTLS to SSL/TLS. The port changed automatically when we made the security type change.

Tap 'NEXT >'.

 
Android008a
The next screen has you setup your outgoing server. Verify/enter the following information.

Username: Your full email
Server: mail.fpunet.com
Security type: STARTTLS
Port: 587

On this device, the only changes we had to make were adding the mail to the front of the server name.

Tap 'NEXT >'.

 
Android008b
Android009
The next options Are personal preference, and control how email is handled. Downloading attachments automatically when attached to Wi-Fi is to take some load off your phone connection.

Tap 'NEXT >'.
Android010
Set your account name (what it shows as in the mail program if you have more than one email account setup) and enter the name you want associated with this email address. This is the name people will see beside or instead of your email address (depending on the software they use). Most often your real name.

Tap 'NEXT >' and you will be finished.
Android005
POP3 Account setup

Tap on 'PERSONAL (POP3)'.
Android006
Enter your password in the 'Sign In' blank, and tap 'NEXT >'
Android011a
On the following screen, enter or verify the following information for the incoming mail:

Username: Your full email
Server: mail.fpunet.com
Security type: SSL/TLS
Port: 995

On this device, the only changes we had to make were adding the mail to the front of the server name, and changing the security type from STARTTLS to SSL/TLS. The port changed automatically when we made the security type change.

Finally, decide if you want the phone to automatically remove mail from our server whenever you delete it on the phone.

Tap 'NEXT >'.
Android011b
Android008a
The next screen has you setup your outgoing server. Verify/enter the following information.

Username: Your full email
Server: mail.fpunet.com
Security type: STARTTLS
Port: 587

On this device, the only changes we had to make were adding the mail to the front of the server name.

Tap 'NEXT >'.
Android008b
Android009
The next options Are personal preference, and control how often email is checked and you are notified. Set to personal preference.

Tap 'NEXT >'.
Android010
Set your account name (what it shows as in the mail program if you have more than one email account setup) and enter the name you want associated with this email address. This is the name people will see beside or instead of your email address (depending on the software they use). Most often your real name.

Tap 'NEXT >' and you will be finished.